Either download the zip file for the plugin and unzip in to your wp-content/plugins directory (fixing permissions as you go) or install from your Wordpress instance's web interface ; the approach you choose will depend on the type of installation you have and therefore we cannot provide more detail here.
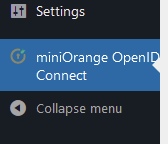
Once installed, find the configuration link in the settings menu

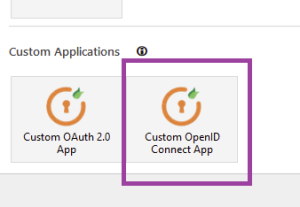
Next:

Then :

- and you will be asked to name your OpenID application.
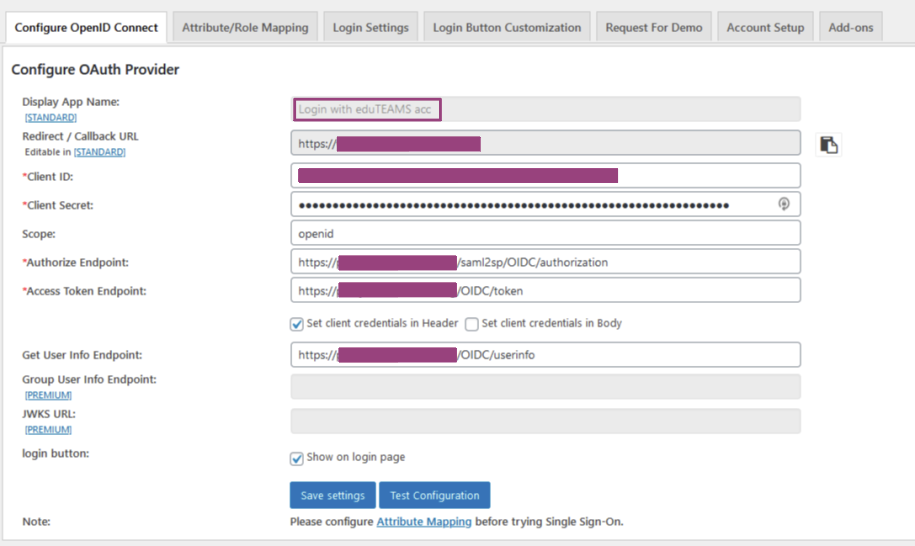
Once you have done this you can enter the rest of the details of your application:

The Redirect / Callback URL is the URL of your service.
The Client ID and Client Secret come from the SP registration you completed.
Scope should be openid
The Endpoints will be URLs as available from the .well-known information relevant to the eduTEAMS VO you're connecting to, eg https://proxy.eduteams.org/.well-known/openid-configuration
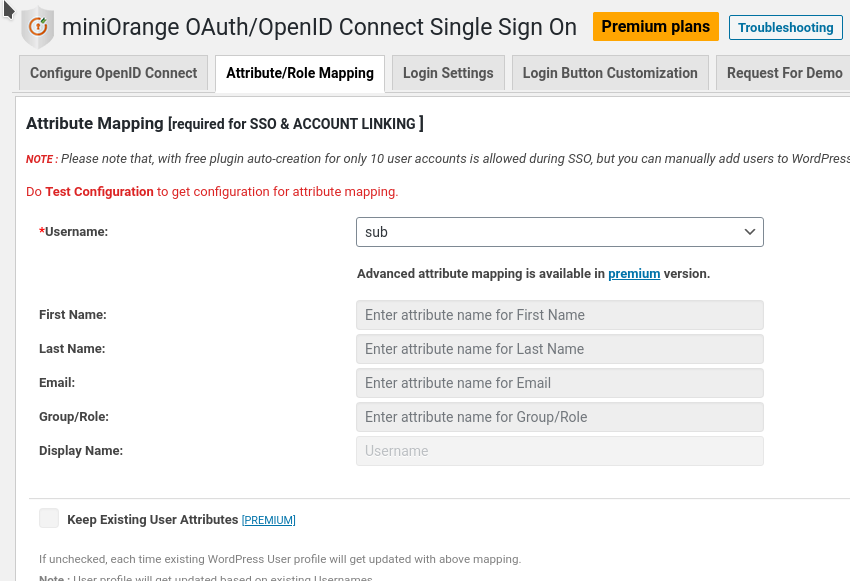
When this is all done, switch to the Attribute/Role mapping. Here, you have to set up an attribute to be used as a username; otherwise, the login flow will not work fully. A good pseudonymous choice is to use the sub:

Once you have entered this information You can click on the "Test Configuration" button; you will be prompted to login to your IdP and should be presented with a table of attributes successfully received by Wordpress.

Please note that in the free version of the plugin you cannot set Display Name etc. that will be shown for logged-in users; you would do this by changing settings in the "Attribute/Role Mapping" tab.


